How to Layer Cuban Chains: The Complete Styling Guide
Cuban chains are everywhere right now — and for good reason. They sit clean against the collarbone, they pair with anything from a hoodie to a button-down, and stacked together they create the kind of layered look that used to require a stylist. The trick isn't finding chains you like. It's making them work together.
This guide walks through how to layer Cuban chains the right way: how to pick lengths that don't tangle, how wide is too wide, when to mix metals, and the small details that separate a stack that looks expensive from one that looks like you grabbed everything in your jewelry box. Whether you're building your first stack or refining one you've been wearing for years, you'll leave with a clear plan.
Why Cuban Chains Layer So Well
Cuban link chains have a flat, interlocking design that lays smooth against the chest instead of bunching up the way rope or box chains can. That flatness is what makes them ideal for stacking — multiple chains can sit at different lengths without stacking awkwardly on top of each other or twisting into a knot every time you move.
The other thing Cuban chains have going for them is versatility in scale. They come in widths from delicate (3mm) all the way up to statement (15mm+), which means you can build a stack that works for the gym, the office, or a night out using the same chain style in different sizes.
The Foundation: Pick Your Anchor Chain First
Every good stack has an anchor — the chain everything else is built around. Your anchor should be the chain you'd wear alone if you only had one. For most people, that's somewhere between 5mm and 8mm wide and 20-22 inches long. It sits just below the collarbone, draws the eye, and gives the rest of the stack something to relate to.
If you're unsure, start with a 6mm Cuban at 22 inches. It's the most flexible width — substantial enough to stand on its own, restrained enough to layer. Once you know what your neck and chest look like with that on, every other chain becomes a decision relative to it.
The Length Rule: Two Inches Apart, Minimum
This is the single most important rule for layering, and the one most people get wrong. Each chain in your stack should be at least 2 inches longer (or shorter) than the one next to it. Closer than that and the chains tangle constantly. Further apart and the stack looks like separate necklaces sharing a neck instead of a layered look.
A clean three-chain stack often looks like this: 18", 20", 22". Or for a longer cascade: 20", 24", 28". The exact numbers don't matter as much as the spacing. Pick a starting length, add two inches, repeat.
One nuance: if you're tall or have a longer torso, scale the whole stack up. 20", 24", 28" might land where 18", 20", 22" would on someone shorter. Try chains on before you commit to a stack — a chain that looks perfect in product photos can land somewhere completely different on you.
The Width Rule: Stagger, Don't Match
The other big mistake is wearing three chains of identical width. It looks like you couldn't decide. Instead, stagger the widths so each chain has its own role.
A reliable formula: pick one statement width (8-12mm), one mid-range (5-7mm), and one delicate (3-4mm). The statement chain is the focal point, the mid-range adds depth, and the delicate chain breaks up the heaviness and adds movement. Your eye reads it as intentional layering instead of repetition.
If you're going for an all-statement look — three chunky chains — keep them all the same metal and finish, and make the length spacing wider (3+ inches between chains) so each one has visual breathing room.
Mixing Metals: Yes, But With Intent
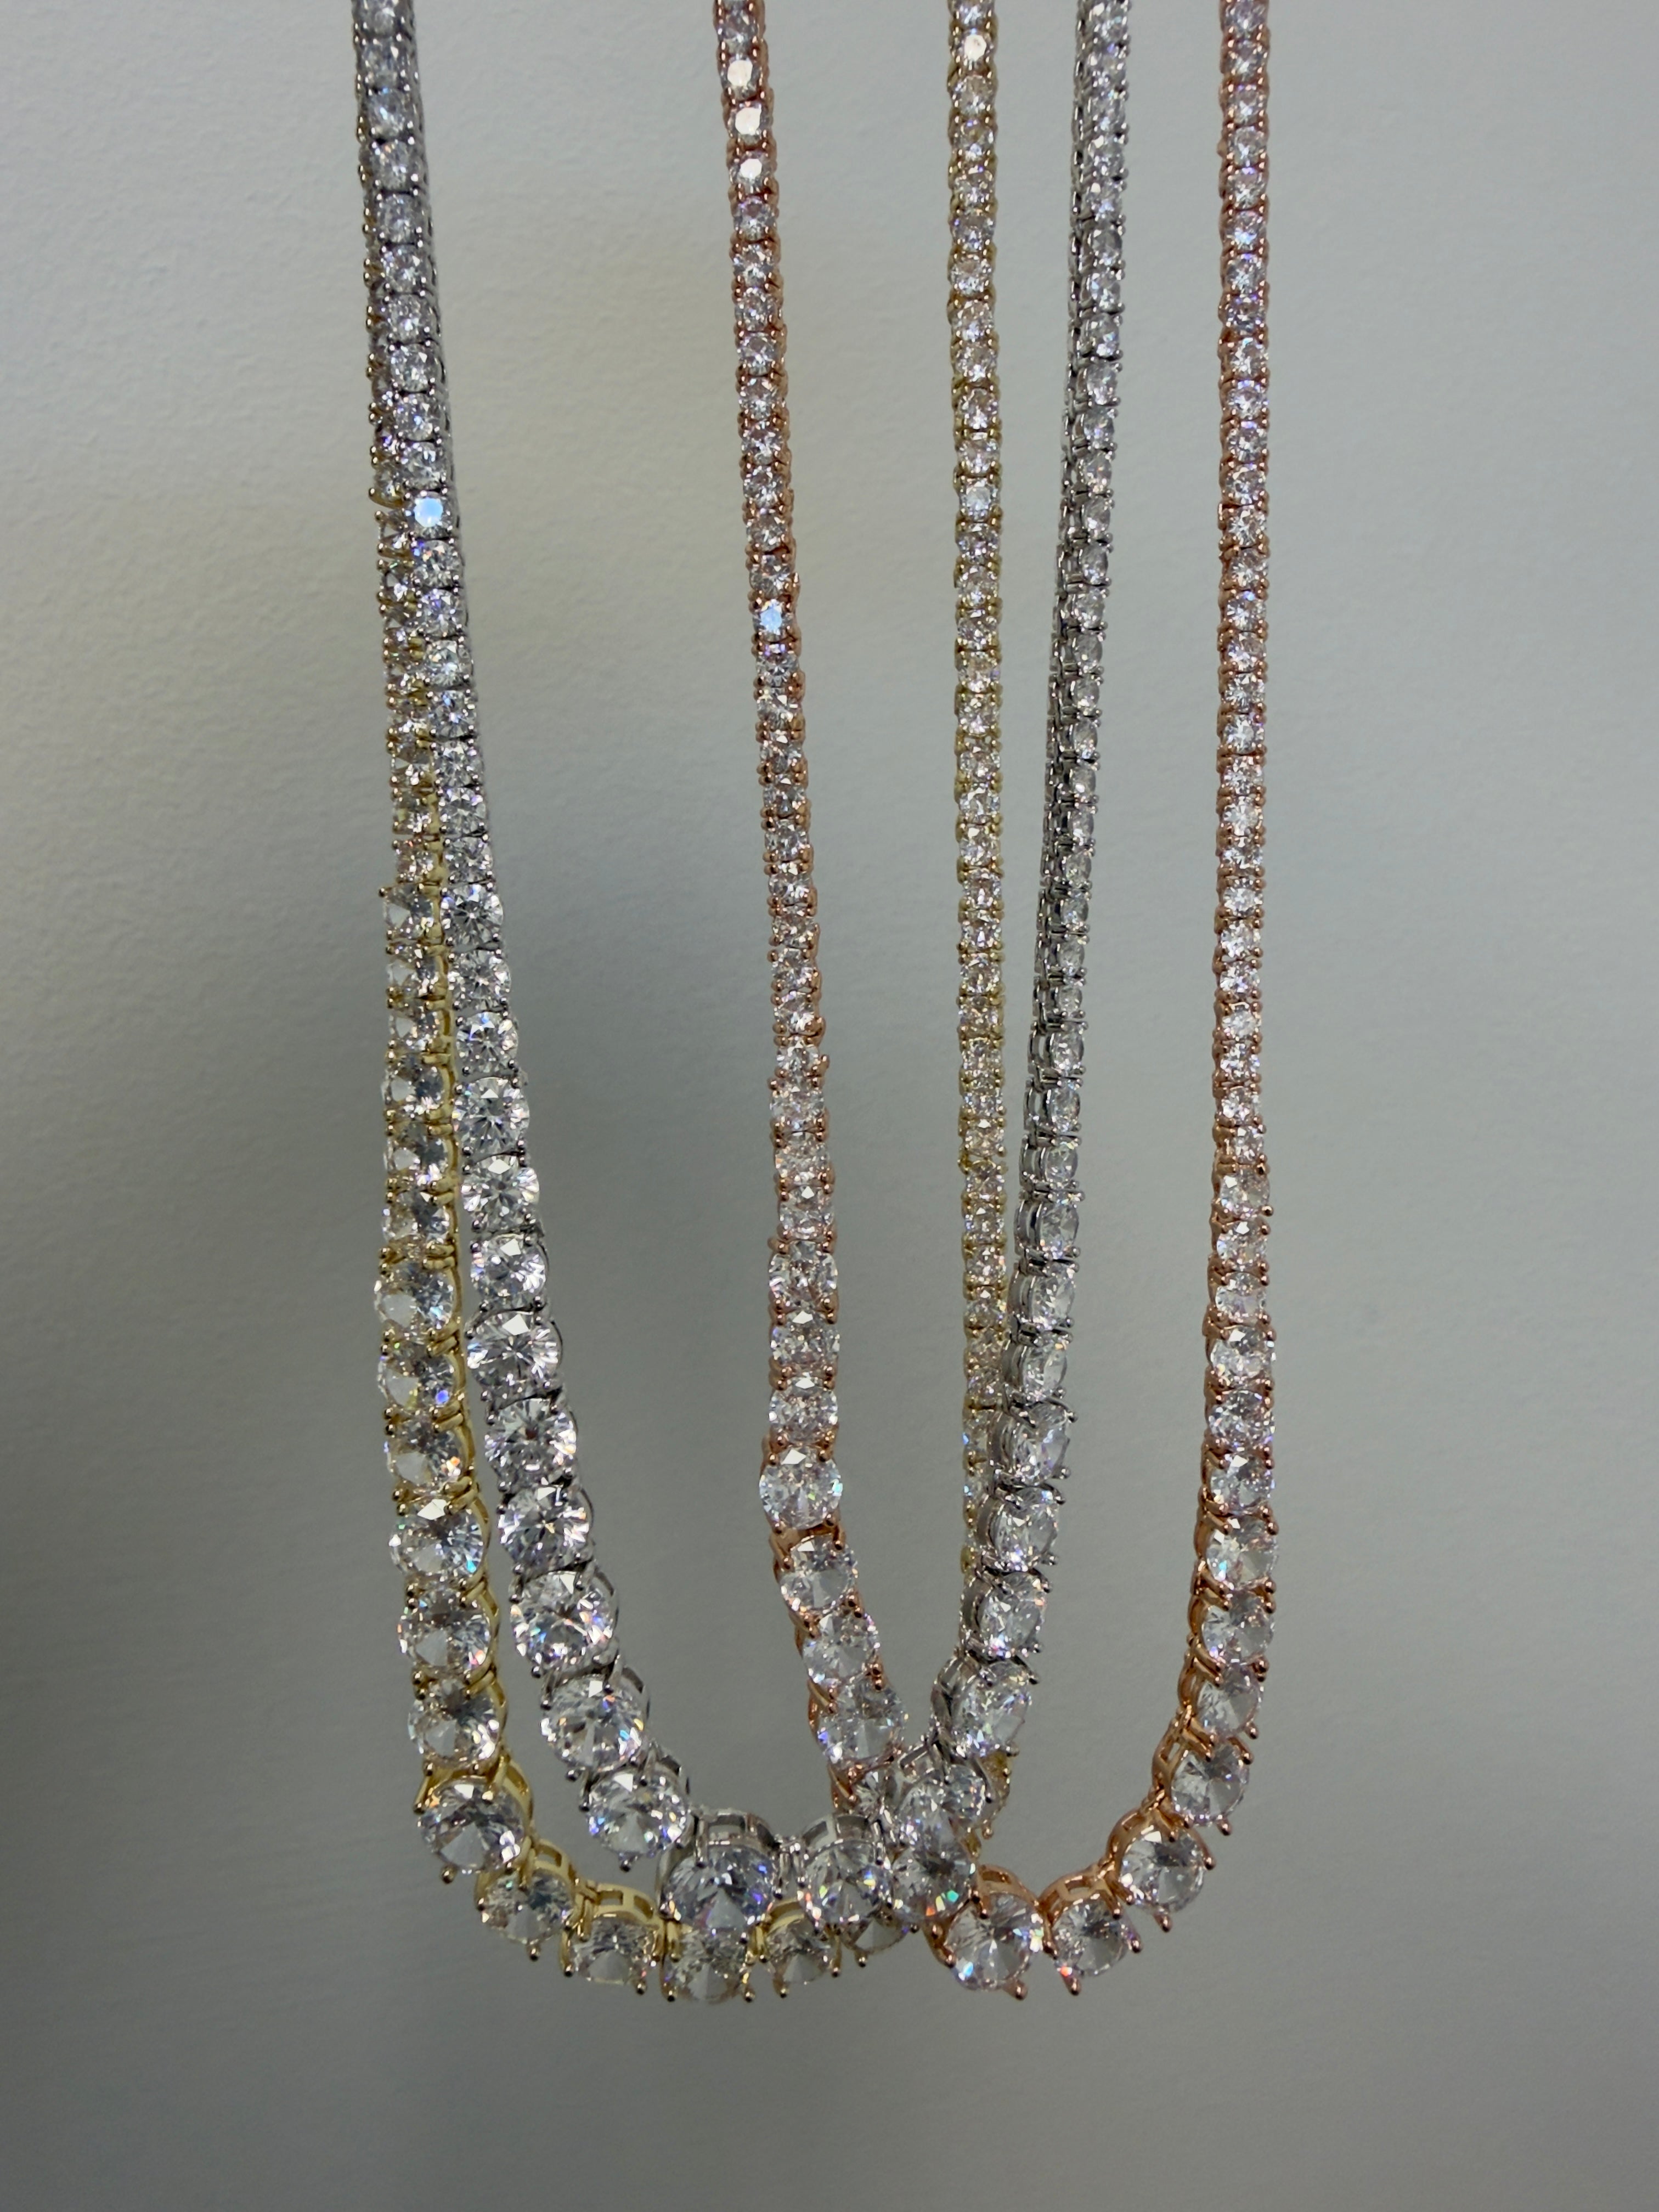
The old rule was "never mix metals." The new rule is "mix metals on purpose." A gold and silver stack looks great when it's clearly a choice — meaning the proportions are deliberate. Two gold chains and one silver, or two silver and one gold, reads as styled. One of each (gold, silver, rose gold) reads as accidental.
If you're mixing, keep the finishes consistent. Three high-polish chains in different metals look cohesive. A high-polish gold next to a matte silver next to a brushed rose gold looks like three different jewelry boxes collided.
For most people starting out, picking one metal and committing to it is the easier path. You can always add a contrasting chain later once you know what works.
Adding a Pendant (Without Breaking the Stack)
Pendants change the math. The pendant chain should be your longest chain, and it should sit lower than the others so the pendant has a clean visual frame instead of getting tangled in the stack above it.
If your stack is 18", 20", 22", your pendant goes on a 24" or 26" chain. The pendant itself should match the visual weight of your stack — a tiny pendant on a chunky stack disappears, and a heavy pendant on a delicate stack looks unbalanced.
One pendant per stack is plenty. Two pendants competing for attention undercuts both of them. Save the second pendant for a different outfit.
Solid vs. Plated vs. CZ: What Actually Matters for Layering
For everyday layering, what matters most is that the chains don't tarnish unevenly. Three chains of different quality levels will age at different rates — your high-quality chain will still look great in a year while the cheaper ones turn dull or develop spots, and suddenly the stack looks bad even though one piece is fine.
The fix is simple: buy chains at similar quality levels. Whether that's all sterling silver, all gold-plated stainless steel, or all solid gold, consistency matters more than absolute quality. A stack of three well-made plated chains will look better in six months than a mix of one solid gold piece and two cheap ones.
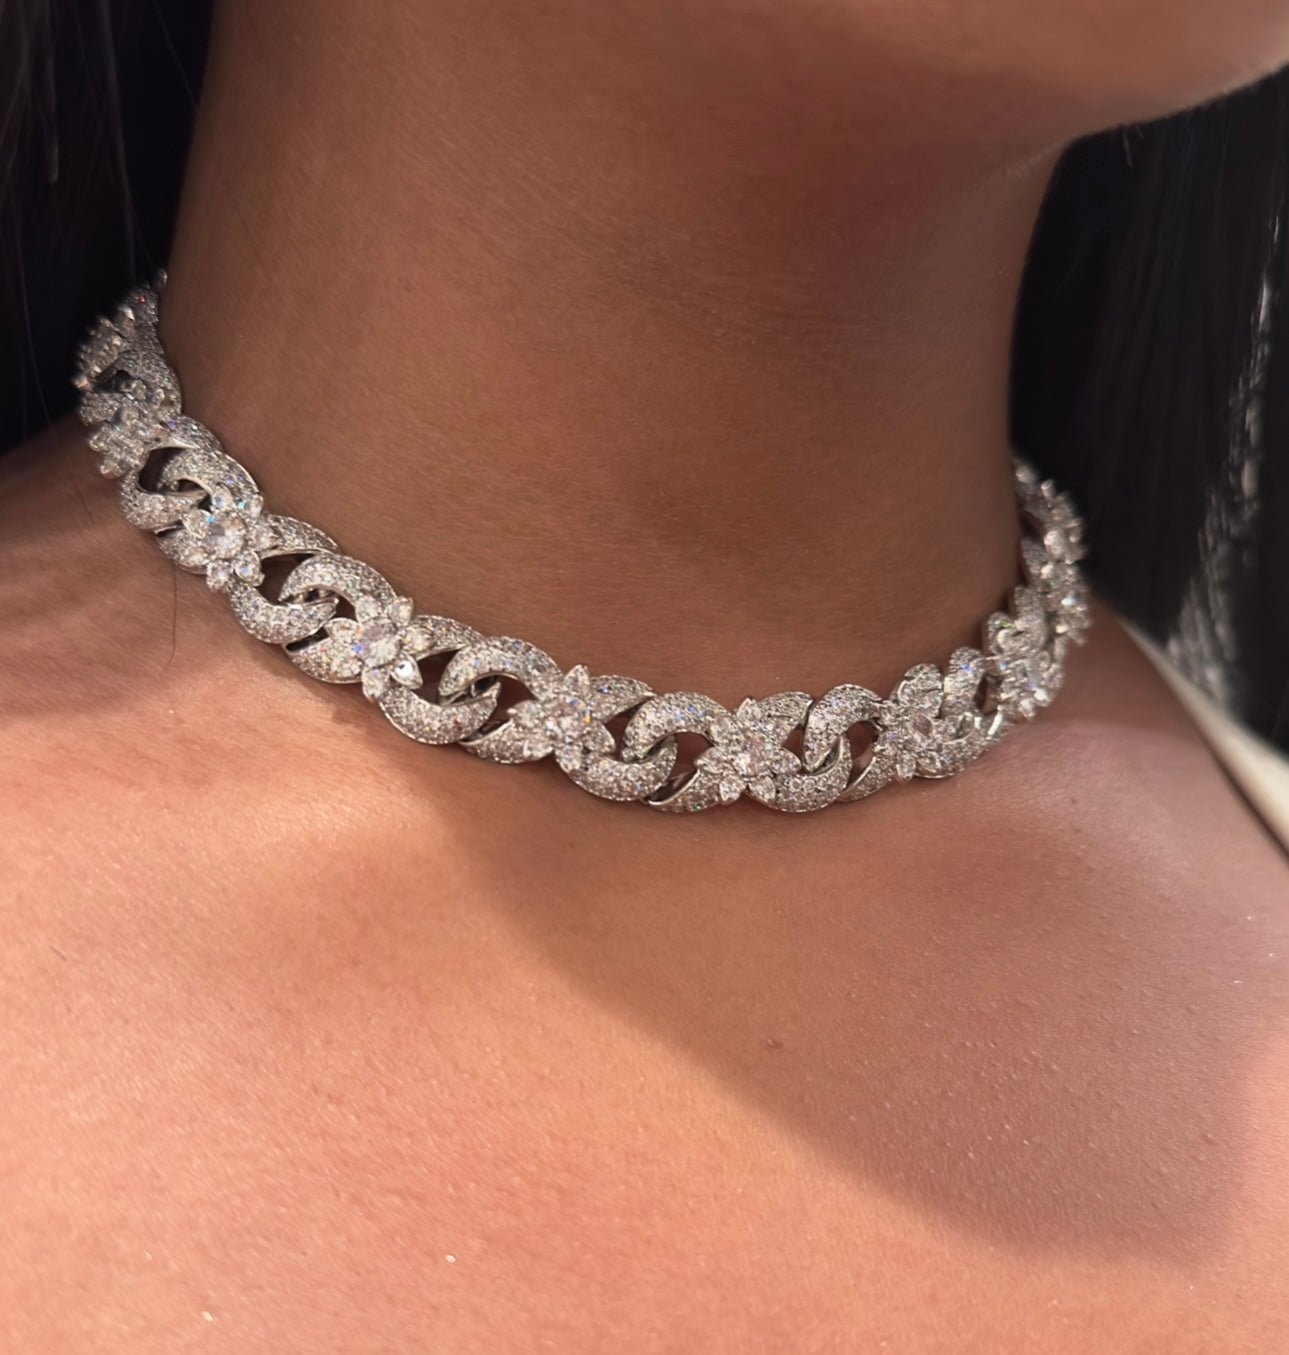
Iced-out Cuban chains (CZ-set) layer beautifully with plain Cuban chains in the same metal. The contrast between the textured, sparkling chain and the smooth links adds depth to the stack without breaking the visual cohesion. Just make sure the iced chain is your statement piece, not a supporting layer — the sparkle pulls focus, and you don't want it competing with itself.
Common Layering Mistakes
A few patterns to avoid:
Too many chains. Three is the sweet spot for most people. Four can work if you're going for a maximalist look and the lengths are well-spaced. Five starts looking cluttered unless you have the height and presence to carry it.
Pendants on every chain. One focal point per stack. Multiple pendants fight each other.
Matching every detail. Identical clasps, identical widths, identical lengths — it stops reading as a stack and starts reading as one chain that someone doubled up by mistake.
Ignoring your neckline. A high-cut crew neck swallows shorter chains. A deep V exposes the entire stack. Plan the stack around what you're wearing, not the other way around.
Quick Reference: Three Stacks That Always Work
The Everyday Stack: 4mm at 18", 6mm at 20", 8mm at 22". Same metal. Works under a tee, peeks out under a button-down, holds up at the gym.
The Statement Stack: 8mm at 20", 10mm at 22", iced-out 6mm at 24". Built for going out. The iced chain pulls focus while the chunky links anchor it.
The Minimal Stack: 3mm at 18", 5mm at 20". Just two chains, both restrained. Clean enough for the office, intentional enough not to look thrown together.
Building Your Stack Over Time
You don't need to buy everything at once. Start with your anchor chain, wear it for a few weeks, and pay attention to where it sits and how it feels. Then add a shorter delicate chain to layer above it. Once that combination feels right, decide whether you want a longer pendant chain or a wider statement chain to round it out.
The best stacks are built, not bought. A stack you've assembled piece by piece over a few months will fit your style better than three chains you ordered together based on a product photo.
Browse our necklace collection to find your anchor chain, or check the Sets & Stacks collection if you'd rather start with a pre-built stack and tweak from there. For the iced-out option mentioned above, the Best Sellers are a good place to see what's working for other people right now.